Return To Blog
Nice saw blade carrier... (a DIY post)
July 13, 2012
Sears Trostel is a drop-off point for Rocky Mountain Sharp Shop. Many of you, having used their services in the past, must already know about this. For those who don't, check out their website to take a look at their services and prices (they even sharpened 2 pair of my sewing shears recently too).
On Thursday we had a drop off of 8 saw blades from one of our favorite (don't worry, you're all our favorites) customers, Uwe who works for CSU. Well, 8 saw blades stacked together are in a word, awkward, because they are heavy and sharp (and will soon be sharper). Curt was at the front counter, watching with a wary eye as I struggled to organize the blades when he made a brilliant but not original suggestion: Uwe, why don't you make a saw blade carrier out of plywood.  Uwe remarked that he liked the idea, but we all know he probably wasn't going to rush back to the shop to build one - he is a busy guy. So, Curt and I decided to make one for Uwe ourselves and in the process, show you all how easy it would be for you to make one as well.
Materials Needed:
1/2" thick plywood
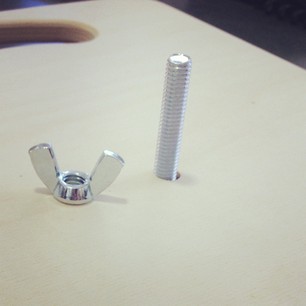
3/8" x 2-1/2" bolt & 3/8" wing nut
Step 1:
Decide on dimensions, pick material.
We chose to use 1/2" baltic birch plywood, 12" x 14"... the end product will look something like this:
*Spoiler alert: from experience, we recommend making the carrier 14" x 16" (which would accommodate both 10" and 12" blades)
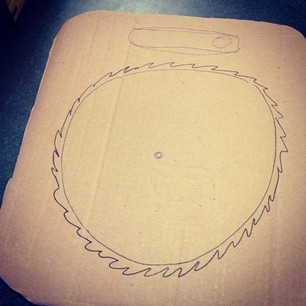
do you tire of my child-like drawings?
Â
you probably didn't need a picture of this step, right?
%20(3).JPG)
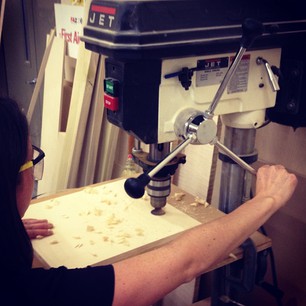
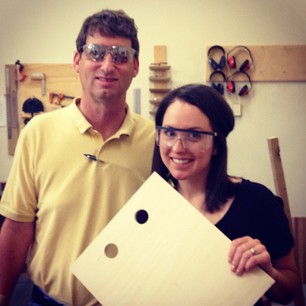
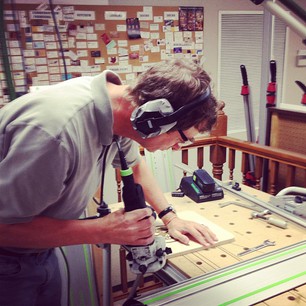
Curt Viehmeyer, the Terminator (note the glasses)
Â
Â
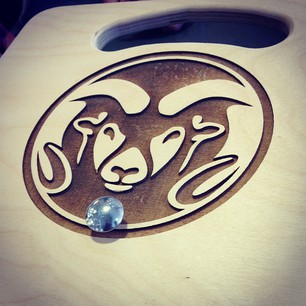
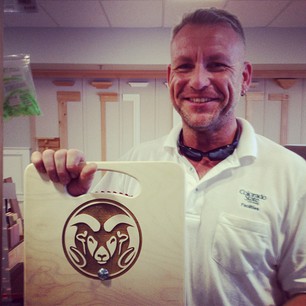
Because this was a gift, and because we were feeling fancy, we had the carrier laser engraved with CSU's logo on the back and our logo on the front. So pretty.
As a side note, the blades that Uwe dropped off were in fact, 12". What's the age old adage again- measure twice, cut once? Well, we just throw caution to the wind here at Sears Trostel and don't measure at all. You can see the blades peeking up in the above picture, not ideal but oh well. Lesson learned (maybe).  Â
On Thursday we had a drop off of 8 saw blades from one of our favorite (don't worry, you're all our favorites) customers, Uwe who works for CSU. Well, 8 saw blades stacked together are in a word, awkward, because they are heavy and sharp (and will soon be sharper). Curt was at the front counter, watching with a wary eye as I struggled to organize the blades when he made a brilliant but not original suggestion: Uwe, why don't you make a saw blade carrier out of plywood.  Uwe remarked that he liked the idea, but we all know he probably wasn't going to rush back to the shop to build one - he is a busy guy. So, Curt and I decided to make one for Uwe ourselves and in the process, show you all how easy it would be for you to make one as well.
Materials Needed:
1/2" thick plywood
3/8" x 2-1/2" bolt & 3/8" wing nut
Step 1:
Decide on dimensions, pick material.
We chose to use 1/2" baltic birch plywood, 12" x 14"... the end product will look something like this:
*Spoiler alert: from experience, we recommend making the carrier 14" x 16" (which would accommodate both 10" and 12" blades)
do you tire of my child-like drawings?
Â
Step 2:
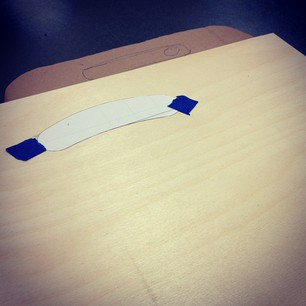
Draw a template of the handle, or more specifically, have Curt draw a template of the handle.
*Feel free to download a PDF of the template we used by clicking here
Tape and trace template onto the material you have chosen.
*Feel free to download a PDF of the template we used by clicking here
Tape and trace template onto the material you have chosen.
you probably didn't need a picture of this step, right?
Step 3:
Cut plywood to final dimensions. Again, the dimensions we used were 12" x 14", assuming the blades the saw blade carrier will be holding are 10"... you know what they say about those who assume.
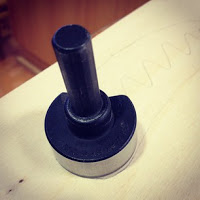
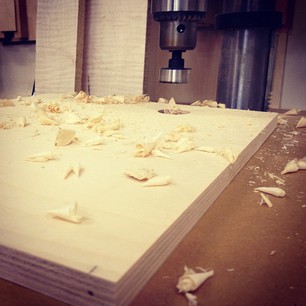
Step 4:
Use a drill press to cut out the ends of the handle; use a drill bit with a radius that matches the radius of the handle (1-3/8" for our template).
Â
Cut plywood to final dimensions. Again, the dimensions we used were 12" x 14", assuming the blades the saw blade carrier will be holding are 10"... you know what they say about those who assume.
Step 4:
Use a drill press to cut out the ends of the handle; use a drill bit with a radius that matches the radius of the handle (1-3/8" for our template).
Â
Curt Viehmeyer, the Terminator (note the glasses)
Â
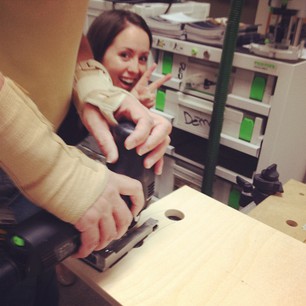
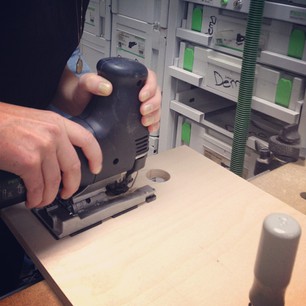
Step 5:
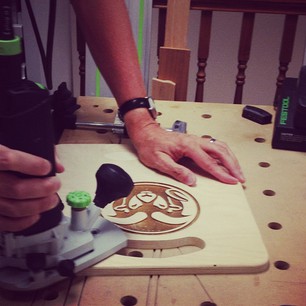
Use a jigsaw to cut out the rest of the handle. We used the Festool PS300 jigsaw and boy did it deliver. (This was my first experience with a jigsaw... I am earning power tool merit badges left and right!)
Use a jigsaw to cut out the rest of the handle. We used the Festool PS300 jigsaw and boy did it deliver. (This was my first experience with a jigsaw... I am earning power tool merit badges left and right!)
Step 6:
Use a spindle sander to smooth out the edges of the handle. Â
Sorry, no photos!
Step 7:
Use a bandsaw to round off the 4 corners of the carrier.
Sorry, no photos!
Step 8:
Use a router to round all edges of the carrier so that it's easier on the hands... remember, this will be heavy when there are sawblades bolted on.
Â
Step 9:
Drill a hole in the center of the carrier that will fit the bolt you are using.Â
Â
Drill a hole in the center of the carrier that will fit the bolt you are using.Â
Â
...et voila!
Because this was a gift, and because we were feeling fancy, we had the carrier laser engraved with CSU's logo on the back and our logo on the front. So pretty.
Â
one satisfied customer
As a side note, the blades that Uwe dropped off were in fact, 12". What's the age old adage again- measure twice, cut once? Well, we just throw caution to the wind here at Sears Trostel and don't measure at all. You can see the blades peeking up in the above picture, not ideal but oh well. Lesson learned (maybe).  Â