Return To Blog
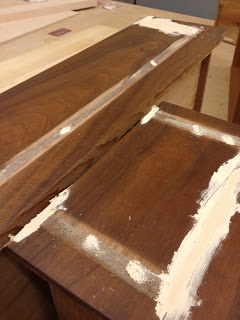
Plastic pretending to be wood, boo!
Â
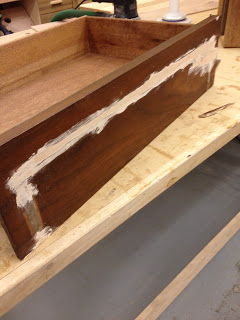
Opposite of success + wood filler = success?
Â
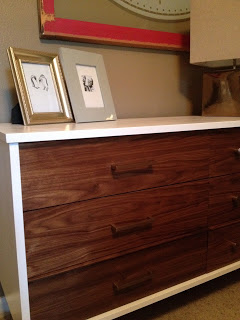
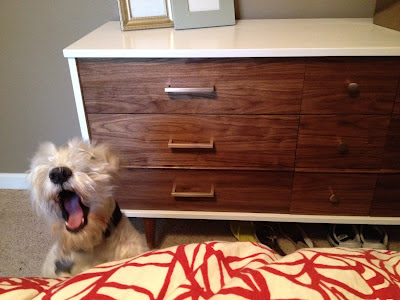
Phil likes it.
Adventures in veneering
September 8, 2012
I know, It's been a while since the last post here... It's been busy here at Sears Trostel, what can I say?
Speaking of being busy- Meryl and I have been working on a few of our own projects lately that we thought you might like to read about, beginning with a refinishing project (hence the title of the post).Â
Â
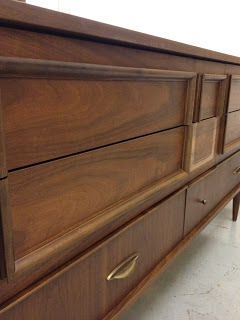
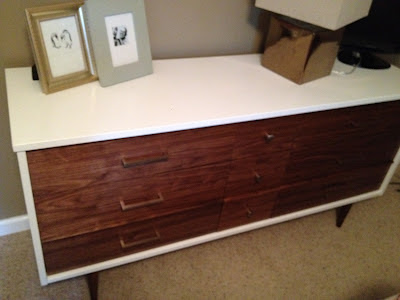
I found this little mid-century gem on Craigslist recently and immediately saw potential. I say potential, because although I loved the lines of the dresser and it was in great condition, I definitely did not love certain aspects (the plastic laminate top, the weird moulding pieces on the front and the hardware). By the way, the before pictures of the dresser are pretty bad. Please forgive me.
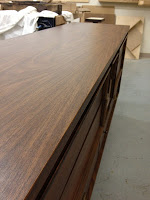
Plastic pretending to be wood, boo!
Â
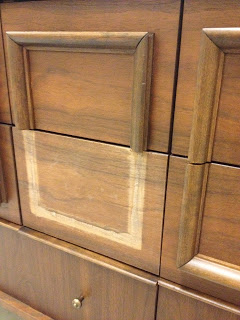
Working here has its benefits, meaning that I kept a dresser drawer at the front counter for a few days (maybe some of you saw it) and asked many a friendly customer for advice. Originally, after successfully removing the moulding from one of the drawer fronts with the help of a very nice customer (you know who you are) I decided that I might get away with simply sanding and refinishing the fronts. I had no such luck with the other drawers and by the end of the removal process I had a bit of a mess on my hands. It was a moment where I wondered what I had gotten myself into and had a twinge of buyer's remorse. What I have learned from much experience is that at these moments it is best to walk away from the project for a while, which is exactly what I did.
Â
Success
Â
Â
Opposite of success + wood filler = success?
Â
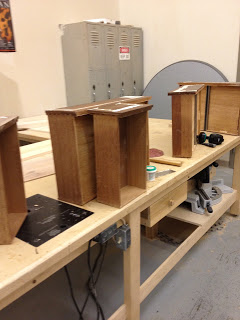
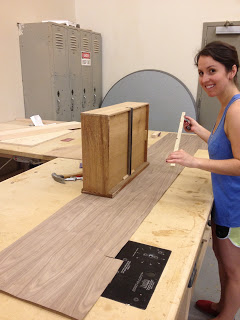
After essentially destroying the drawer fronts, I realized the only place to go from there was to re-veneer the fronts. I chose to re-veneer in walnut to match the nightstand I have been working on (almost finished, I swear.) Again, there is a bevy of experienced woodworkers here at Sears Trostel (customers included) who were happy to share their knowledge of veneering and turned the process into something I wasn't really expecting: a painless process.
I spent two Saturday afternoons here in the shop, patching the drawer fronts, sanding, and applying the veneer. After that I needed only trim the veneer with a flush cut router bit et voila... (almost) brand new drawers. Â
The plastic laminate was another issue; one solved with oil based primer and a quart of white paint. What do you think? Â
The plastic laminate was another issue; one solved with oil based primer and a quart of white paint. What do you think? Â
Phil likes it.